DEEN
Packing and user instructions

How to pack and use the ball

The Avalanche Ball is a safety product. Please read these instructions before your first tour and practise releasing and packing until it is second nature.

The system

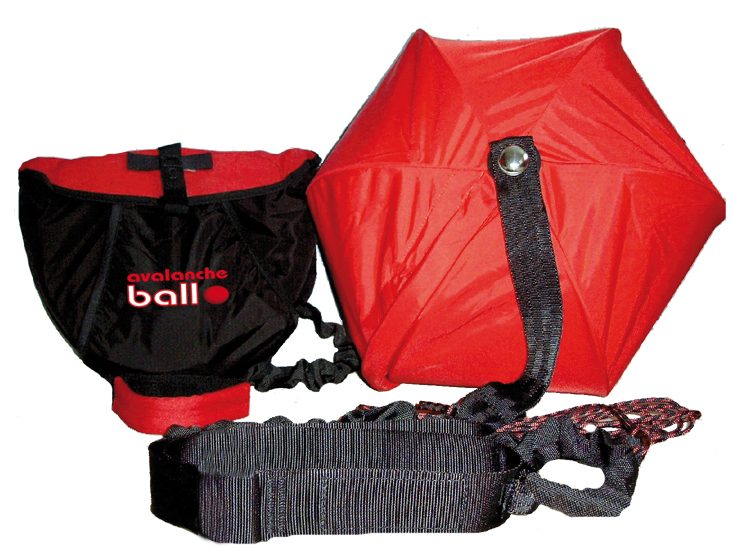
  • Buoyancy ball, the red ball, with ball strap
  • Connecting line, 6 m, plus a stretchy section to the waist belt
  • Waist belt with carabiner loop
  • System bag with release handle
ImportantThe ball does not open automatically. If you are caught in an avalanche, you must pull the release handle.
System bag, red ball, connecting line and waist belt
Packing

Packing the ball

The numbers in brackets also appear in the photos.
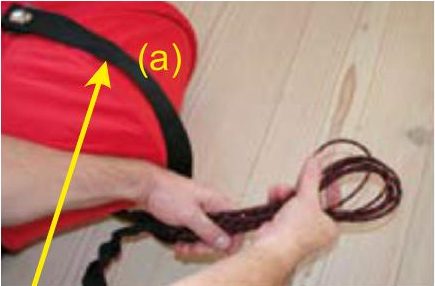
Connecting line being folded
1Fold up the whole connecting line.
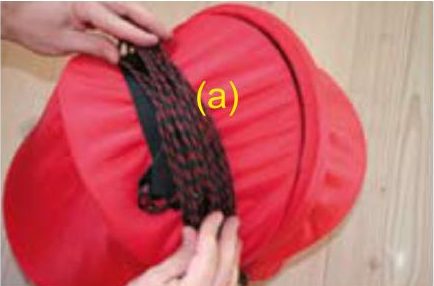
Line placed into the fold of the ball
2Stow the line with the ball strap in the second fold, behind the fold with the black Velcro.
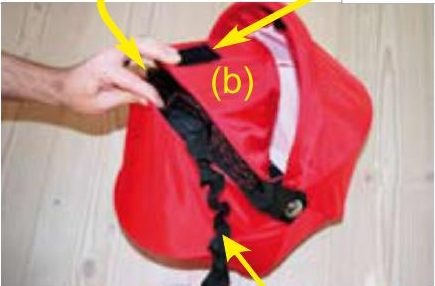
Ball being folded
3Fold the ball so that only the stretchy link to the waist belt sticks out of the second fold.
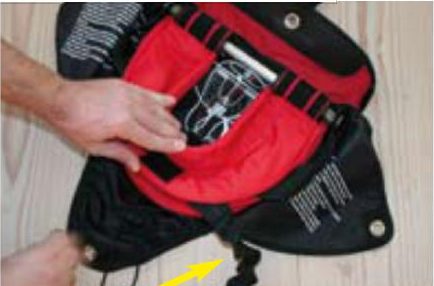
Ball placed in the system bag
4Place the folded ball in the system bag.
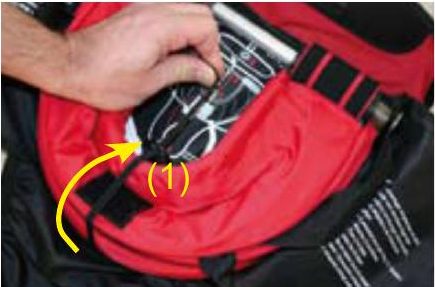
Elastic cord through the eyelet
5Lay the elastic cord over the ball and pass it through the black plastic eyelet (1).
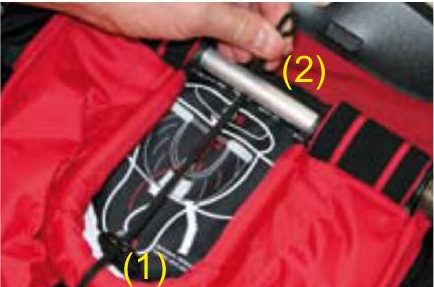
Elastic cord under the axle
6Then pass the elastic cord under the aluminium axle (2).
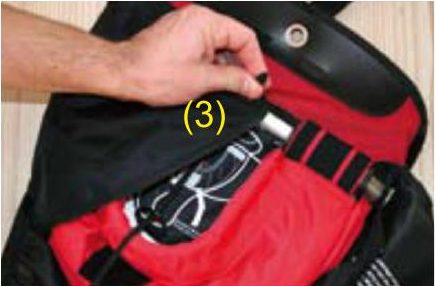
Eyelet on the side panel
7Only then pass it through the eyelet of the first side panel (3) …
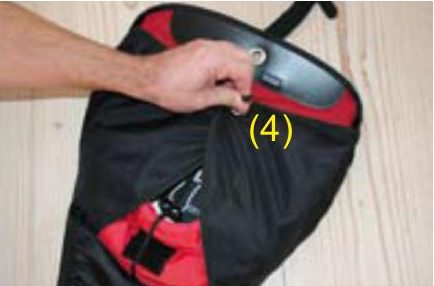
Eyelet on the second side panel
8… and through the eyelet of the second side panel (4).
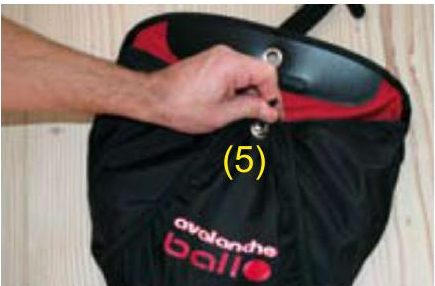
Eyelet on the lower flap
9Next through the eyelet of the lower flap (5).
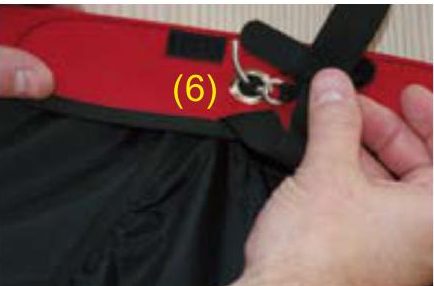
Pin secures the elastic cord
10Finally through the eyelet of the lid flap (6), secure with the pin and close the Velcro.
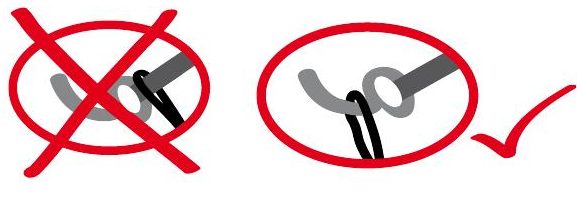
Caution: pinNever pull the elastic cord over the oval part of the pin, or the system cannot release. Test the release after every packing.
Left wrong: cord over the oval part of the pin, right correct
Left wrong, right correct
Mounting

Mounting on the backpack

The system bag fits common touring packs. The waist belt connects the ball directly to you, even if the backpack is lost in the avalanche.
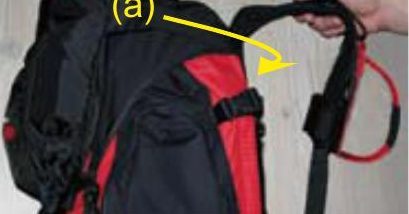
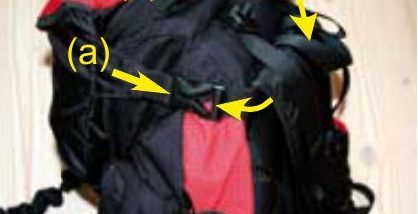
Buckle strap around the backpack
AMount the system as upright as possible on the front of the backpack. Run the buckle strap (a) around the pack and close it at the side.
Tab on the grab handle
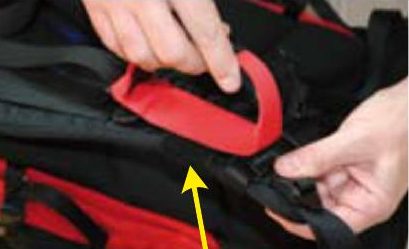
BAlso connect the Velcro tab (b) at the top of the system bag to the backpack's grab handle.
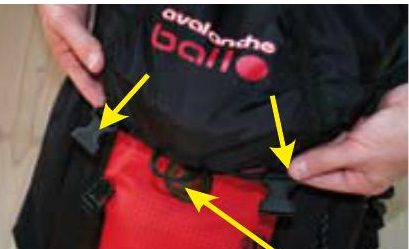
Loops on the system bag
CThere are three loops at the bottom of the system bag. Pass the lid buckles through the outer loops, or through the middle one if there is only one buckle.
Release cord along the shoulder strap
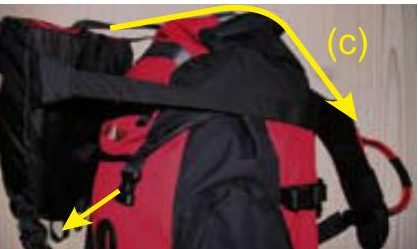
DRun the release cord (c) forward along the shoulder strap.
Release handle on the shoulder strap
EAttach the supplied Velcro strap to the shoulder strap and fix the red release handle to it.
Waist belt on the backpack
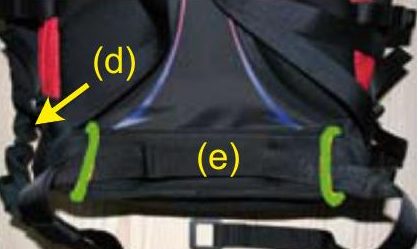
FRun the stretchy connecting line (d) to the waist belt (e) and attach the belt to the backpack's hip belt.
Before every descentCheck that the connection between your waist belt or climbing harness and the system is in place.
Releasing

One short pull is enough

A short pull on the release cord opens the system bag and frees the ball, any time and as often as you like. The connecting line leads directly from you to the ball.

Tip: In a critical situation, for example when turning back after a whumpf sound, you can also release the ball as a precaution. It costs nothing.

In the avalanche

  • At a whumpf sound, loss of balance or when you see or hear the avalanche: pull the release cord at once.
  • Escape to the side if possible.
  • In the avalanche, try to swim with it.
  • As it slows down: arms in front of your face (boxer position) and push back to create a breathing space.
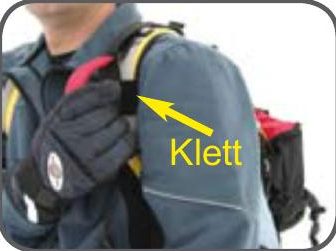
Release handle with Velcro on the shoulder strap
The release handle sits on the shoulder strap with Velcro.
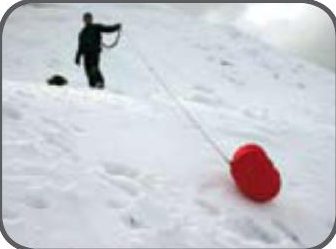
Rescuer pulling the line to the red ball
Follow the line to the buried person.
Search and recovery

From the ball to the person

In all trials, the ball lay clearly visible downhill of the buried person, in the direction the avalanche flowed. Using the line, which is usually visible as well, the exact position can be found at once.

  1. From the ball, walk along the line and pull.
  2. Where the line can no longer be pulled out or disappears below the surface, start digging at once.
  3. Dig until the person appears. On average they are not very deep, around 70 cm.
The first 15 minutesRecovery should happen within the first 15 minutes using every means available. Then first aid applies: clear the airway, maintain circulation, protect from hypothermia. You can learn the exact measures with the Red Cross, mountain rescue or avalanche courses.
Safety notes

Please note

  • When packed, the system is under tension. Pulling the release cord opens the ball instantly.
  • Never close the buckle strap of the system bag across its front, so that the ball can spring out.
  • Never cover the system bag with equipment, clothing, rope or ice axe.
  • Always remove the packing aid cord after securing the elastic cord with the pin.
  • Check the function before every tour and practise releasing.
  • When heli-skiing or near running rotors, secure the system so it cannot release accidentally.
  • Do not wear the system bag directly on your body; always mount it on a backpack with shovel and probe.
  • Do not go alone. The ball replaces neither transceiver, shovel and probe nor good tour planning.
Care

Keeping your ball in shape

The system needs no maintenance. You can check that it works at any time by releasing it.

  • Protect from strong heat, such as heated stoves and direct sunlight.
  • Avoid soaking it completely and then letting it freeze.
  • Let it dry released after every tour.
  • Store it released over the summer, not packed in the system bag. If space is short, fold it and secure it with the waist belt.
  • Slight deformations after long storage disappear when the ball is left open for a while.

Warranty: 2 years from the date of purchase on material and manufacturing defects. Please keep your receipt and write to office@lawinenball.com before sending anything back.

Powderbag

Packing the freeride backpack

If you already own an Avalanche Ball, you can fit it into the Powderbag: pass the waist belt through the red safety loop and then left and right through the side slots of the backpack.
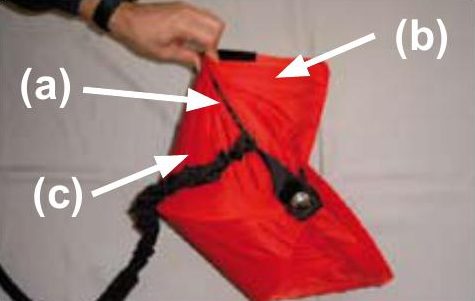
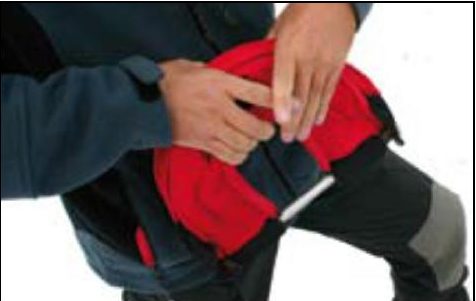
Line in the compartment
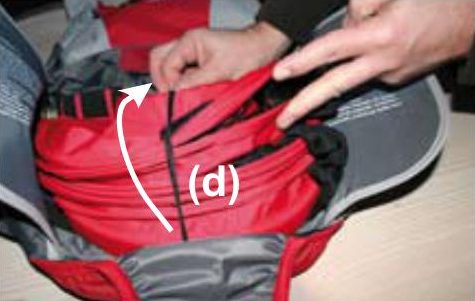
1Stow the 6 m line in the 2nd compartment (a) on the black fleece patch (b), the stretchy line in the next compartment (c).
Ball placed in the backpack
2Fold the ball completely and place it in the dedicated area.
Elastic cord over the ball
3Lay the elastic cord (d) over the folded ball.
D-ring and axle
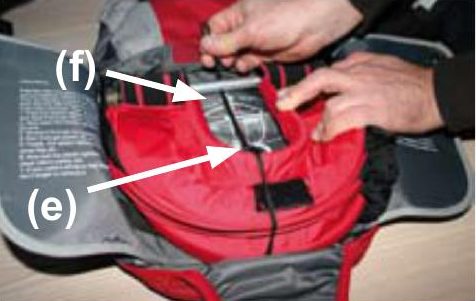
4Through the D-ring (e) and then under the ball's axle (f).
Eyelets on the Powderbag
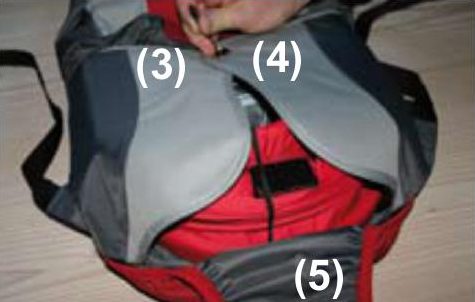
5Through the eyelets of both side panels (3, 4) and the lower flap (5).
Pin on the Powderbag
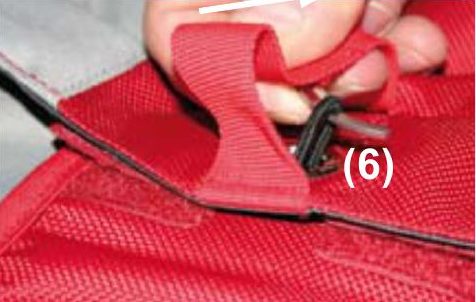
6Secure with the pin (6) and close the Velcro.